This guide will walk you through uploading your first piece using Studio. Follow these step-by-step instructions and refer to the screenshots to help you along the way.
1. Get started in Studio
When you first visit Studio, you’ll see a Submit Piece button. Click this button to begin the process of uploading your first digital piece.
2. Fill out the submission form
The upload form is divided into several sections. Below is a breakdown of each section and what information you need to provide.
A. Piece Details
-
Piece Name & Description:
Provide a name and description for your piece. These details will be part of the metadata and will be displayed on the product detail page. -
Primary Asset Upload:
Upload your main asset file. Accepted formats include .JPEG, .PNG, .JPG, .GIF, or .MP4 (max 100MB).
B. Sales Mechanics
Choose the type of sale for your piece:
- Open Edition (recommended for first-time onchain sellers)
- Limited Edition
- Auction
C. Quantity & Price
- For Open Editions:
Set the price for your piece. A good starting point is around 0.001 ETH if you're new to onchain sales. - Network Selection:
The default network is Base due to its low transaction fees. If you’re unsure or this is your first time, stick with Base. Other options include Ethereum and Polygon.
D. Date & Time
- Set the Sale Date:
We recommend setting the date to “now” so your piece is available for sale immediately upon publishing. - Limited Sales Duration:
Consider using a limited sales duration to cap the quantity of your piece, adding future scarcity and value.
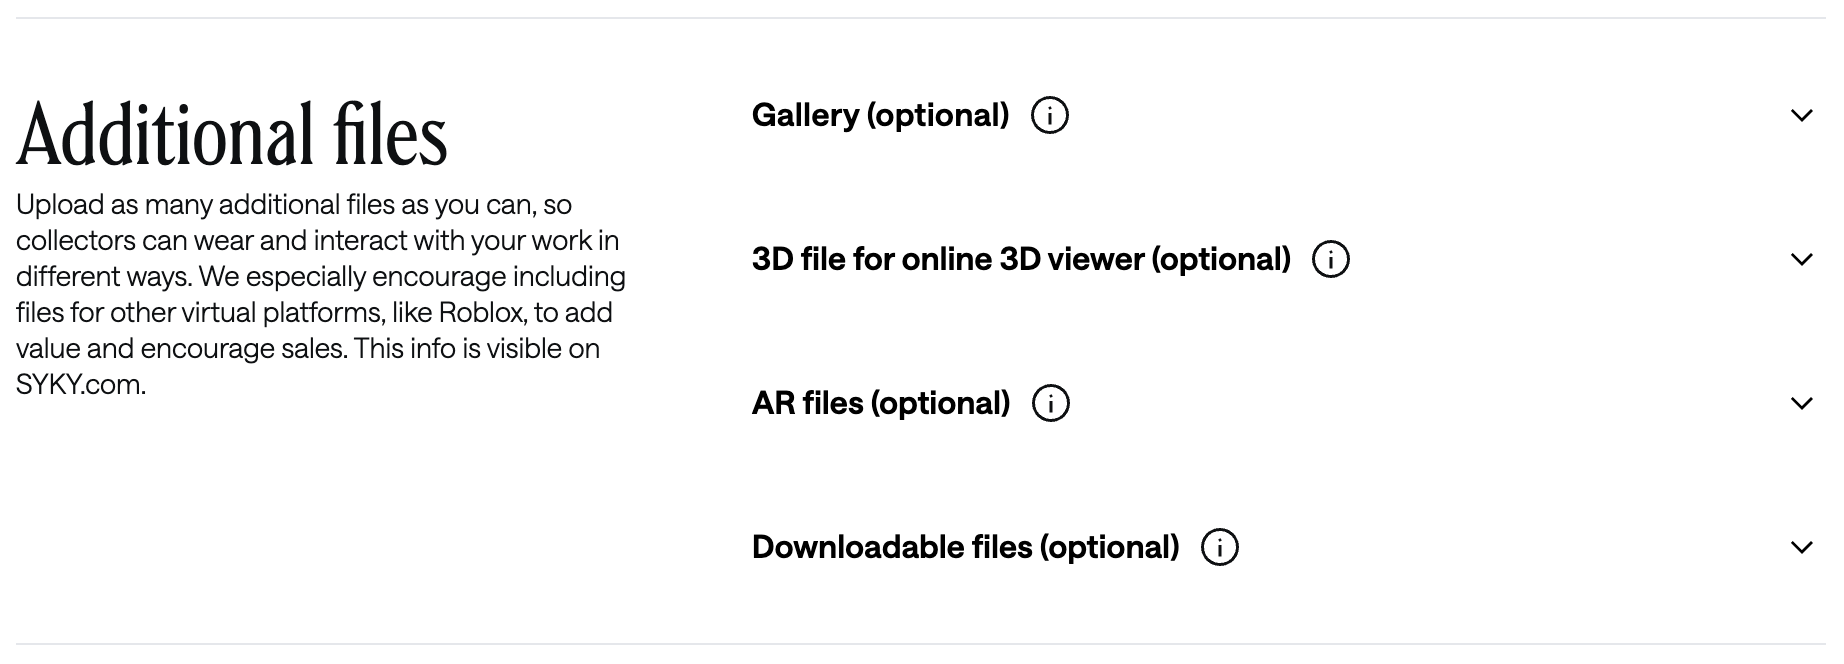
E. Additional Files (Optional)
You can upload extra files to allow collectors to wear and interact with your work in different ways (e.g., assets for virtual platforms like Roblox).
 F. Tags and Traits (Optional)
Selecting tags and traits helps categorize your piece and makes it easier for buyers to filter by style or virtual world.
3. Preview your piece
Before submitting, click the Preview Your Piece button. This will open a preview page in a new tab so you can see how your piece will appear on the site. If you need to make changes, return to the form and adjust accordingly.
4. Submit your piece for review
Once you’re satisfied with your submission:
- Click the Submit button.
- Your piece will then be sent to the SYKY team for review.
- In your dashboard, your piece will show as "In Review." You will receive an email notification within 24 hours once your piece is approved.
5. Publish your approved piece
After your piece is approved:
- It will display as "Approved" in your dashboard.
- Click the Publish Piece button.
- Agree to the terms of use and privacy policy.
- Approve the transaction in your wallet when prompted.
Your piece will now be live on SYKY!
That’s it! You’ve successfully used SYKY Studio to submit and publish your first piece. For more detailed tips and information about additional features, check out our extended guides on Studio and digital fashion submissions.
Happy creating!